Reviving an Overwatered Orchid: A Root Rescue Timeline
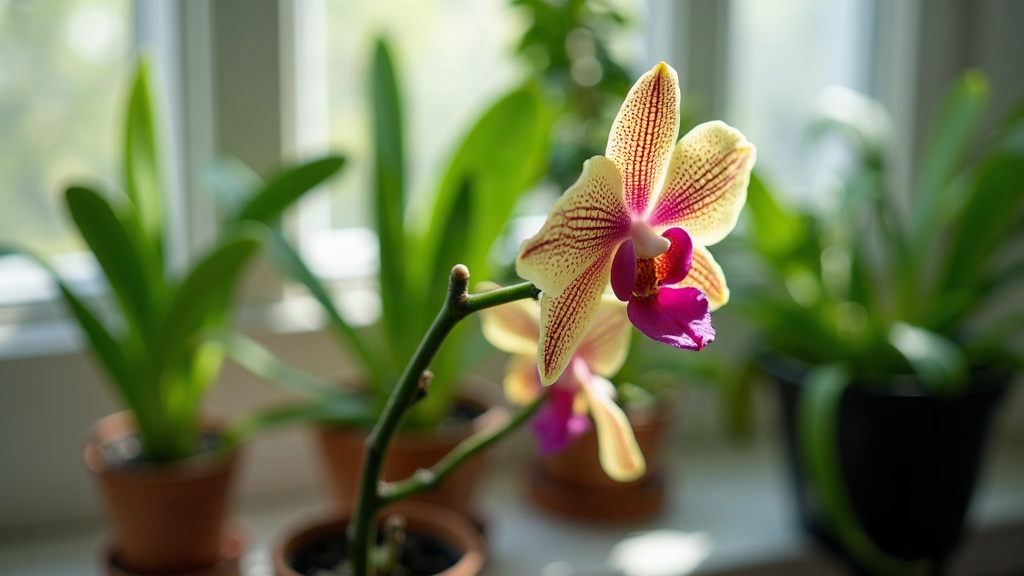
An overwatered orchid can usually be saved, but only if you catch it within the first week. The trick isn’t fiddling with your watering schedule and hoping for the best. It’s pulling the plant out of soggy bark right away, cutting off the rotten roots, and sticking to a real recovery timeline instead of winging it.
How to Tell Your Orchid Is Overwatered
Before you do anything drastic, make sure that’s actually what’s going on. Signs of overwatering include:
- Yellowing leaves that feel soft or limp, not crispy
- Roots that have turned brown, black, or mushy instead of staying firm and green or silvery
- A sour, almost rotten smell coming from the pot
- Water pooling at the bottom of the pot, or worse, sitting in the crown where the leaves meet
- Leaves that pleat or wrinkle even though the bark feels wet (a telltale sign the roots have stopped absorbing anything)
Healthy roots look gray-green and feel plump, almost rubbery. If instead they’re hollow, dark brown, and collapse like a wet noodle when you squeeze them, that’s root rot, plain and simple.
Day 1: Emergency Removal and Assessment
- Unpot the orchid right away. Slide it out gently and rinse off every bit of old bark, moss, or mix under lukewarm running water. Don’t be gentle with the debris, just with the roots.
- Check each root individually. Firm, white-to-green ones stay. Mushy, brown, or hollow ones go.
- Sterilize your scissors or shears with rubbing alcohol, then cut away every dead root back to healthy tissue. If that means losing more than half the root system, so be it. Rotten roots will drag the whole plant down faster than a smaller root ball ever could.
- Trim damaged leaves only if more than half the leaf is yellow or mushy. Otherwise leave them on. The plant needs every bit of photosynthesis it can get while it recovers.
- Set the plant on a paper towel and let it air-dry for 2 to 4 hours before you touch it again.
Days 2-4: The Dry-Out Phase
Resist the urge to repot immediately. Set the bare-root orchid in a clear container or an orchid basket, no growing medium at all, somewhere with bright, indirect light. This lets air move around the roots and gives the fresh cuts time to callus over, which is what actually keeps new infections from taking hold.
- If your home runs dry (under 40% humidity), mist the roots lightly once a day
- Keep it out of direct sun, which can scorch roots that no longer have any protective covering
- Check every day for new soft spots. Find one, cut it out, don’t wait
Days 5-7: Repotting with Fresh Medium
Once the cut ends look dry and have formed a callus (they’ll look slightly tan or sealed, not raw), you’re ready to repot:
- Use fresh, coarse orchid bark, or a bark-and-sphagnum mix. Never reuse the old medium, even if it looks fine
- Pick a pot with generous drainage holes. A clear plastic pot is worth it here since you can actually see what the roots are doing
- Spread the roots naturally when you position the plant, don’t cram them in
- Water lightly for the first week, just enough to settle the bark into place, not to soak it
Weeks 2-4: Monitoring Recovery
This stage tests your patience more than anything else. Orchids take their time showing visible progress, sometimes frustratingly so.
- Water only once the bark is bone dry, which usually means every 7 to 10 days, depending on your home’s humidity
- Use the finger test, or just lift the pot. A pot that feels unusually light means it’s time to water
- Watch the base for new root tips (little green or white nubs). That’s your sign recovery is actually happening
- Hold off on fertilizer until you see new growth, then start light, at quarter strength
Common Mistakes That Delay Recovery
- Watering on autopilot instead of by actual need. Orchids don’t care what day it is. Humidity, pot size, and season all matter more than a fixed schedule.
- Repotting too early, before the roots have fully calloused. That’s basically an invitation for more rot.
- Using a decorative pot with no drainage holes. Water just sits at the bottom with nowhere to go.
- Forgetting about the crown. Water trapped where the leaves meet is one of the fastest ways to kill an orchid. Always tip the plant sideways after watering to let any excess drain out.
When to Give Up vs. Keep Trying
If the orchid has lost every single root but the leaves and crown are still firm, there’s still a shot. Try water propagation: suspend the base just above a shallow water reservoir in a clear container and wait. New roots can show up after a few weeks. But if the crown itself has gone soft or black, that’s usually game over. No amount of babying brings back a rotted crown.
Conclusion
Saving an overwatered orchid really comes down to timing and holding back. Get it out of wet media fast, cut out the rot without hesitation, let the roots dry and callus, then repot into fresh bark and stick to a disciplined watering routine. As long as some healthy roots survive, most orchids bounce back within 4 to 8 weeks, as long as you don’t give in to the urge to water “just in case” while they’re healing.