Sphagnum Moss Poles: The Secret to Bigger Monstera Leaves
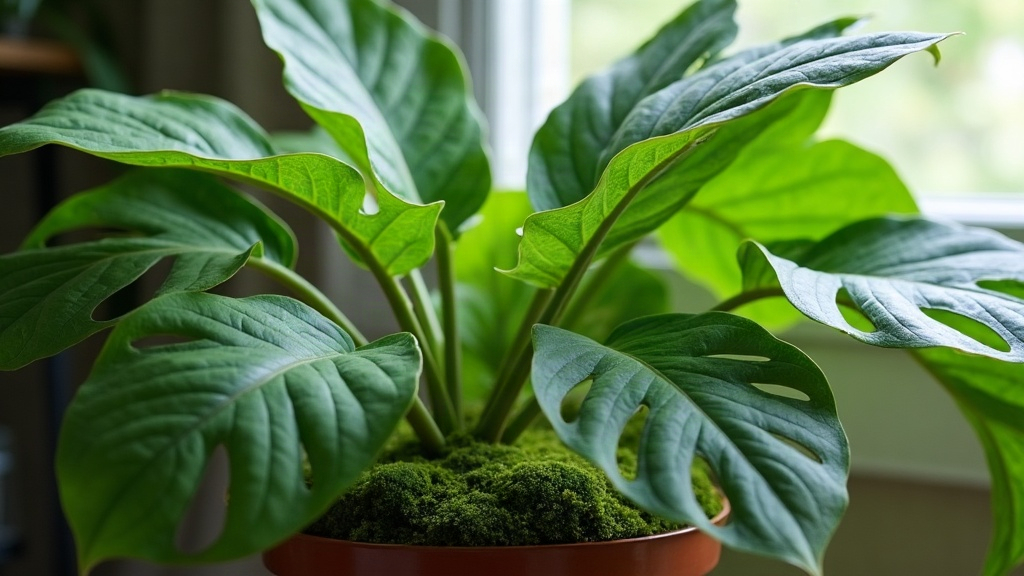
A sphagnum moss pole is the single most effective upgrade you can give a Monstera deliciosa. In the wild, Monsteras are climbing hemiepiphytes: they start on the forest floor, then shingle their way up tree trunks toward the canopy. Give a potted Monstera a moist, root-friendly surface to climb and it reads that support as a tree trunk. The plant shifts into mature growth mode and starts pushing out dramatically larger leaves with deeper fenestrations, those signature splits and holes. Here is exactly how to set one up, and what to expect.
Why Monsteras Need Something to Climb
Left to sprawl, a Monstera spends most of its energy on long, leggy stems searching for support. Those stems carry small, solid, juvenile leaves because the plant has no reason to mature. Support changes that calculation.
- Climbing triggers maturity. Once aerial roots anchor into a surface, the plant produces shorter internodes (the space between leaves) and larger foliage.
- Roots feed the plant. Aerial roots that work their way into moist sphagnum moss absorb water and nutrients, so each new leaf gets more resources.
- Fenestrations follow light and age. Bigger, split leaves need strong support to hold their weight, and a pole provides exactly that.
The payoff is the classic “giant Swiss cheese” look: leaves that can reach 60 to 90 cm (2 to 3 ft) across indoors over time.
How a Sphagnum Moss Pole Changes Leaf Size
The mechanism is simple but powerful. Sphagnum moss holds water like a sponge while staying airy, so roots can breathe as they grow into it. Keep the pole consistently damp and the aerial roots attach within weeks. The plant begins treating the pole as an extension of its root zone.
Compare that to a bare coir pole or a bamboo stake. The roots have nothing to penetrate, so the Monstera never fully commits to climbing. Sphagnum moss gives the roots both moisture and purchase, and that combination is what flips the plant into its mature, large-leaf phase.
How to Set Up a Sphagnum Moss Pole
Choosing or building the pole
You have two solid options.
- Buy a stackable plastic moss pole with an open front and back. It’s the easiest to keep moist, and you can extend it as the plant grows.
- Build your own. Wrap damp, long-fiber sphagnum moss around a PVC pipe, wooden stake, or wire mesh tube, then secure it with fishing line or zip ties.
Aim for a pole at least 60 to 90 cm (2 to 3 ft) tall. Long-fiber sphagnum beats chopped or “moss powder” because it holds more air and water and resists compacting.
Attaching the plant correctly
This is where most people go wrong, and it makes a real difference.
- Find the back of the plant. The aerial roots grow from the back; the leaves face forward toward the light. The pole goes on the root side, not against the leaves.
- Position the pole deep in the pot. Insert it when you repot so it sits stable against the back of the root ball, behind the main stem.
- Tie the main stem, never the leaf petioles. Use soft plant Velcro or stretchy tape, and secure the stem below a node. Petioles need freedom to turn toward the light.
- Direct the newest growth toward the pole. New leaves emerge from the most recent node. Angle that node so its roots reach the moss.
Tie the pole to the front of the plant, or strap down the petioles, and you’ll end up with a lopsided, stressed Monstera that grows smaller leaves instead of bigger ones.
Keeping the Moss Moist
A dry sphagnum moss pole is close to useless. Roots won’t grow into dry moss, and the plant will simply ignore it. Treat the pole as part of your watering routine.
- Mist the pole every 1 to 3 days, or water it from the top so moisture runs down through the moss.
- Check by touch. The moss should feel like a wrung-out sponge: damp but never soggy or dripping.
- Fertilize lightly. Once roots are established in the pole, a diluted liquid fertilizer (about half strength) poured into the moss feeds the aerial roots directly.
One practical trick: keep a spray bottle next to the plant. If misting the pole daily fits into your routine, you’ll see faster root attachment.
Common Mistakes to Avoid
- Using the wrong side. The pole must sit on the aerial-root side, or the plant can’t climb.
- Tying petioles. This restricts leaf movement and can cause damage.
- Letting the moss dry out completely. Roots die back and the plant stops climbing.
- Choosing a flimsy stake. A heavy, mature Monstera will topple a thin support.
- Expecting instant results. The plant needs time to sense the support and anchor itself.
How Long Until Bigger Leaves?
Be patient but optimistic. In the first 2 to 4 weeks, you should see aerial roots pressing into the moss. Within a few months, internode spacing shortens and new leaves come in noticeably larger, often with more fenestrations than the previous leaf. With bright, indirect light and a consistently moist pole, each successive leaf can run 20 to 30% larger than the last, until the plant hits its indoor ceiling.
Conclusion
A sphagnum moss pole isn’t a gimmick. It’s the closest thing to giving your Monstera the tree trunk it evolved to climb. Set the pole on the correct side, tie only the stem, and keep the moss consistently damp. Do that, and you’ll trade small, solid juvenile leaves for the big, fenestrated foliage that made Monstera deliciosa famous.