From Cuttings to Canopy: Propagating Pothos in Water
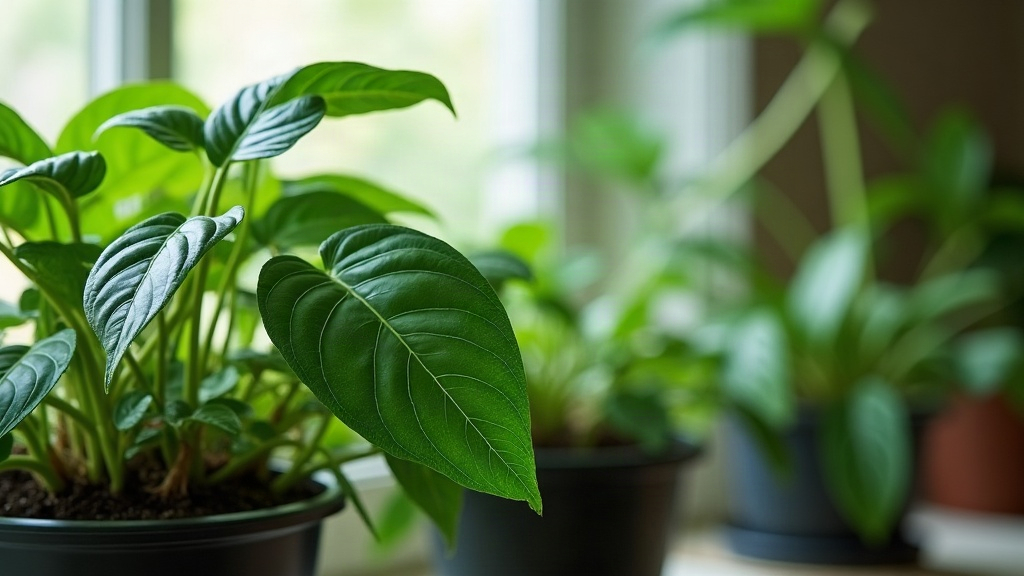
Propagating Pothos in Water: A Step-by-Step Guide
Propagating pothos in water might be the single easiest plant project out there, and it’s hard to beat the payoff. Snip one trailing vine, drop it in a jar, and a few weeks later you’ve got the start of a thick, cascading “canopy” of foliage. Even first-timers tend to get this right. Below is everything you need, from picking the right cutting to moving rooted stems into soil, so you can turn one pothos into a whole shelf of them without spending a dime.
Why Propagate Pothos in Water?
Pothos (Epipremnum aureum) has earned its reputation as a nearly unkillable houseplant, and water propagation leans right into that strength: this plant naturally throws out aerial roots at its leaf nodes, so all you’re doing is giving those roots somewhere to grow. A few reasons this method works so well:
- You can actually see what’s happening. Roots form in plain view, which makes it much easier for beginners to recognize healthy growth versus a cutting that’s struggling.
- Lower risk than soil. No soil means no overwatering, no fungus gnats, none of the usual rooting headaches.
- It’s basically free plants. A single mature vine can realistically yield a dozen or more new cuttings.
- Instant fullness. Once rooted, cuttings can go right back into the mother plant’s pot, making a sparse plant look twice as lush overnight.
Step 1: Choose the Right Cutting
Start with a vine that’s actively growing and has at least 2-3 healthy leaves. Grab clean, sharp scissors or pruning shears and cut just below a node, the small bump along the stem where leaves and aerial roots form. This part isn’t optional: skip the node, and the cutting simply won’t root, no matter how long you leave it in water.
A few things to look for when choosing:
- Go for deep green or nicely variegated leaves, nothing yellowing or chewed up by pests.
- A cutting with 2-4 nodes tends to root faster and gives you more than one chance at success.
- If you spot tiny nub-like aerial roots already forming near a node, snip that one first. It’ll likely take off faster than the rest.
Step 2: Prepare and Submerge
Strip off any leaves that would end up underwater; left in place, they’ll rot and turn the water cloudy fast. Set the cutting in a clean glass or jar of room-temperature water, with at least one node fully submerged.
- Filtered or dechlorinated water is ideal. If you’re using tap water, just let it sit out for 24 hours first so the chlorine can off-gas.
- A clear glass jar (mason jars work great) lets you keep an eye on root progress without disturbing the cutting.
- Swap the water every 5-7 days. Stale water gets low on oxygen and starts growing bacteria, which slows rooting and can even rot the stem.
Step 3: Find the Right Spot
Set the jar somewhere with bright, indirect light, an east- or north-facing windowsill is usually perfect. Skip direct sun: it heats the water up fast and can scorch the leaves. Pothos will survive in dim corners too, but if you want quicker roots, consistent brightness makes a real difference.
A few conditions to aim for:
- Room temperature, roughly 65-80°F (18-27°C)
- Keep it away from cold drafts and heating vents
- Pick a spot and leave it there. Pothos cuttings don’t love being moved around constantly.
Step 4: Be Patient, Watch the Roots Grow
Somewhere between week 1 and week 3, tiny white root nubs will start poking out from the submerged node. Give it another few weeks and those roots usually hit 1-2 inches, which is exactly the size you want before moving to soil.
Rough timeline:
- Week 1: Small white bumps show up at the node. Easy to miss if you’re not looking closely.
- Weeks 2-3: Roots stretch out and may start branching.
- Weeks 4-6: Roots reach 1-2 inches with fine root hairs visible, this is your green light for transplanting.
Nothing happening after four weeks? Move the jar to a brighter window and start changing the water more often, that usually kicks things into gear.
Step 5: Transplant to Soil
Once those roots hit the 1-2 inch mark, it’s time to think about soil. Technically, a pothos cutting can live in water forever, but plants grown in soil end up sturdier and more resilient long-term.
- Pick a well-draining potting mix made for houseplants, nothing too dense or water-retentive.
- Plant the cutting deep enough that the roots and the bottom node are both covered with soil.
- Water it well right after planting, then keep the soil lightly moist for the first week or two while the roots adjust to their new environment.
- Keep it out of direct sun during this transition. The roots are still settling in and can’t handle much stress yet.
Common Mistakes to Avoid
- Letting leaves sit in water. They’ll rot, and the jar will start to smell and cloud up.
- Skipping water changes. Stagnant water is a breeding ground for bacteria and will stall root growth.
- Moving to soil too soon. Roots under an inch usually don’t survive the switch; wait it out.
- Too much direct sunlight. It cooks the water and stresses the cutting more than people expect.
Final Thoughts
There’s really not much that can go wrong here. A clean cutting, a jar of water, and a spot with good indirect light is basically the whole recipe, and within a couple of months you’ll have a full, trailing canopy of pothos instead of one lonely vine. Once you’ve done it a couple of times, don’t be surprised if you start propagating cuttings for every friend who compliments your plants, and for every bare corner of your house that could use some green.